
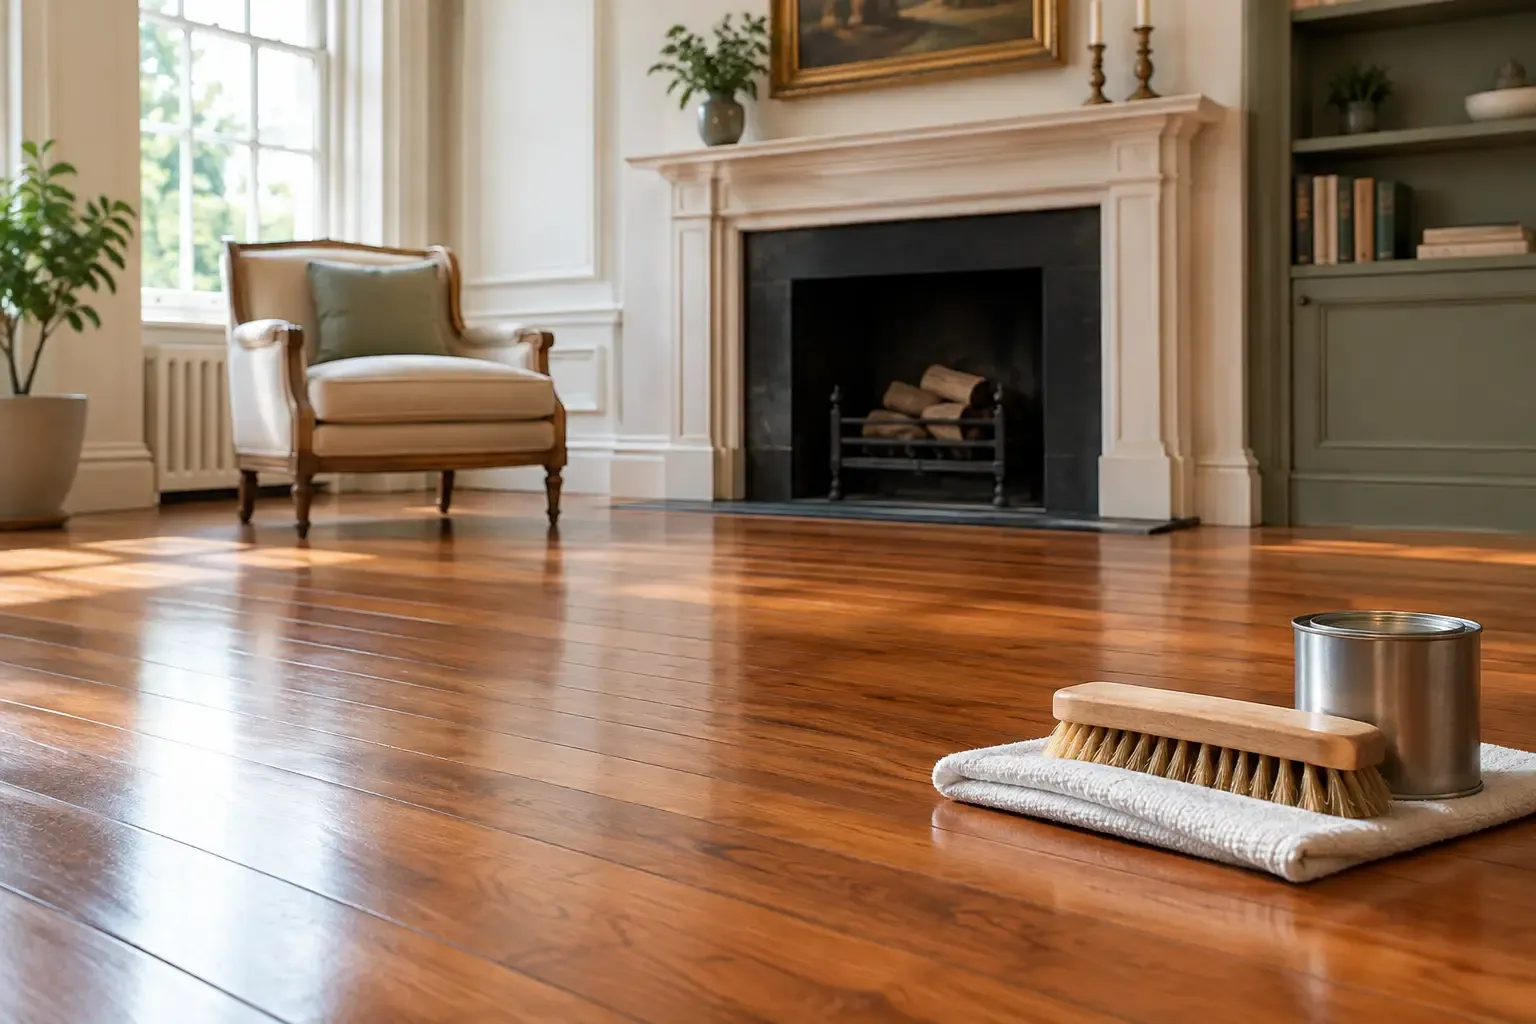
A historic floor rarely needs to look brand-new to look right. The shallow dents, subtle color variation, tight grain, and aged patina may be part of what makes a rowhouse in Baltimore or a Colonial in Montgomery County feel like home. This historic home flooring preservation guide helps homeowners protect that character while addressing the problems that can compromise a floor’s appearance, safety, and service life.
Start With a Preservation-Minded Assessment
The first decision is not which stain to choose. It is whether the existing floor should be cleaned, repaired, screened and recoated, resurfaced, or fully sanded and refinished. Those are very different scopes of work, and choosing too aggressive a process can remove material that cannot be put back.
Begin with the floor’s condition. Look for loose boards, gaps that change with the seasons, water-darkened areas, cupping, buckling, insect damage, deep pet stains, and worn traffic paths. Also note where the floor is located. An original pine floor in an upstairs bedroom may tolerate a different approach than a high-traffic oak entry floor exposed to wet shoes and direct sunlight.
Age alone does not determine the right treatment. What matters is the remaining thickness of the boards, the condition of their tongue-and-groove joints, the number of times they may have been sanded, and whether the finish has failed. A qualified flooring professional can inspect edges, thresholds, vents, and inconspicuous areas to determine how much usable wood remains.
Understand what makes original floors different
Older homes often contain narrower boards, old-growth lumber, square-cut nails, patchwork repairs, or species that are less common in modern flooring. These details are worth preserving when possible. Even modest wear can contribute to an authentic appearance, while an overly uniform stain or a heavily flattened surface can make an old floor feel disconnected from the house.
That does not mean every flaw should remain. Active damage needs correction. Boards that move underfoot, areas softened by moisture, and splinters around old repairs are functional concerns, not historic charm. The goal is a stable, cleanable, durable floor that still looks appropriate for its age.
Choose the Least Aggressive Effective Repair
A careful historic home flooring preservation plan starts with the least invasive method that will solve the problem. If the floor has a sound finish with light surface scuffs, a professional cleaning and maintenance coating may be enough. If the finish is dull or lightly scratched but the wood itself is not exposed, screening and recoating can refresh protection without removing significant wood.
Full sanding is appropriate when there are widespread bare areas, uneven old coatings, major scratches, incompatible finishes, or staining that reaches below the surface. It can dramatically improve a floor, but it should be done with restraint. Every full sanding removes a small amount of wood. On thin antique flooring or boards previously sanded several times, that margin matters.
Repairs should be targeted before refinishing begins. A skilled contractor can secure loose boards, reset or replace damaged fasteners, repair small gaps where appropriate, and weave in salvaged or carefully matched replacement boards. Matching is not always perfect, especially with old wood that has darkened over decades. A good repair is often one that respects the floor’s overall rhythm rather than pretending the replacement never happened.
Control Moisture Before You Touch the Finish
Water is one of the fastest ways to turn a preservation project into a replacement project. If boards are cupping, crowning, separating, or buckling, identify the moisture source before sanding or coating. Common causes include plumbing leaks, wet basements, poor grading, crawlspace humidity, failed appliance lines, and repeated wet mopping.
Moisture conditions need time to stabilize. Sanding a cupped floor before the wood reaches an appropriate moisture level can produce a deceptively flat surface that later crowns as the boards dry. Likewise, filling seasonal gaps too aggressively can cause boards to press against each other during humid weather.
For Maryland and Washington, DC-area homes, seasonal humidity is a practical concern. Maintain consistent indoor conditions where possible, use entry mats during wet weather, and address basement or crawlspace moisture. If a water event occurs, prompt extraction, drying, and professional assessment can sometimes save flooring that would otherwise stain, distort, or loosen.
Preserve the Right Amount of Patina
Patina is not dirt, and preservation is not neglect. The right finish plan separates honest age from preventable deterioration.
Deep black stains, failed shellac or wax coatings, and heavy grime may require more substantial work. But small nail holes, gentle color variation, and minor evidence of use can often remain. Before sanding, discuss the desired result in direct terms: Do you want a restored floor with a clean, even finish? Or do you want a floor that reads as original, with selected signs of age retained?
This conversation should also cover edges and corners. Historic floors often have perimeter details that deserve careful treatment. Aggressive edging can leave a visibly lighter border or remove the soft transitions that developed over time. Experienced sanding balances the field of the floor with the edges so the finished result looks intentional rather than machine-perfect.
Select a Finish for How You Actually Live
The finish should protect the wood while fitting the home’s use and appearance. A matte or satin sheen is often a practical choice for historic homes because it softens reflections and makes everyday dust and minor scratches less obvious than a high-gloss finish. Waterborne finishes generally dry faster and keep the wood closer to its natural color, while oil-modified finishes can add warmer amber tones that suit certain older interiors.
Hardwax oil systems can be an excellent fit when homeowners want a natural-looking, repairable finish, but they have specific maintenance expectations. Traditional penetrating finishes may also be appropriate in select restoration situations, though they require informed care. There is no single historic-house finish that works for every floor.
Custom stain deserves the same caution. A test area is essential because oak, pine, maple, heart pine, and patched boards absorb color differently. A stain that looks balanced on one board can turn muddy, overly red, or uneven on another. Sample boards and on-site test patches allow you to evaluate color under your home’s actual lighting before committing to the full floor.
Do not trap problems under a new coating
A fresh finish will not fix loose boards, recurring moisture, pet urine that has penetrated deeply, or wax and residue that prevent adhesion. It may temporarily make the floor look better, but the underlying problem will return. Proper preparation, including finish compatibility testing and detailed cleaning, is what gives a new coating a fair chance to perform.
Plan for Repairs Without Erasing the Home’s Story
Some historic floors cannot be preserved in place without repair, and that is not a failure. A careful board replacement can protect the structure and extend the life of the surrounding original material. Where possible, retain sound boards from closets, under built-ins, or other less visible areas for patches in prominent rooms. Reclaimed lumber may also help with size, grain, and character.
When an entire area needs replacement, consider whether the new material should blend in or be honestly distinguishable. In a formal front room, a close species and board-width match may be the priority. In a kitchen addition or a repaired rear room, a compatible but subtly different floor can acknowledge the home’s evolution. The correct choice depends on the room, the architecture, and how much original material remains.
Stairs need special attention. Treads and handrails receive concentrated wear, and stair refinishing involves safety as well as appearance. Secure treads, consistent preparation, and a finish with reliable traction are more valuable than chasing a perfect cosmetic match.
Maintain the Floor After Restoration
Preservation continues after the final coat cures. Use mats at exterior doors, felt pads under furniture, and window treatments where strong sunlight is bleaching the floor. Sweep or vacuum with a hardwood-safe attachment regularly so grit does not act like sandpaper under shoes.
Clean spills promptly with a lightly damp, well-wrung microfiber mop and a cleaner approved for the finish. Avoid steam mops, soaking wet mops, abrasive powders, and improvised oil or wax treatments unless they are specifically compatible with the existing system. These products can damage the finish or create adhesion problems during future recoating.
Expect a maintenance cycle rather than a one-time solution. A timely screen and recoat can renew protection before foot traffic reaches bare wood, helping delay the need for another full sanding. Keep records of the products used and the date of each service. That information makes future preservation decisions more accurate.
Historic floors reward careful judgment. With a thorough evaluation, controlled moisture, precise repairs, and a finish chosen for the way you live, their age becomes an asset rather than a limitation. For homeowners who want professional guidance, Refinish My Floors can assess the existing wood and recommend a restoration path that protects both the floor and the character of the home.