
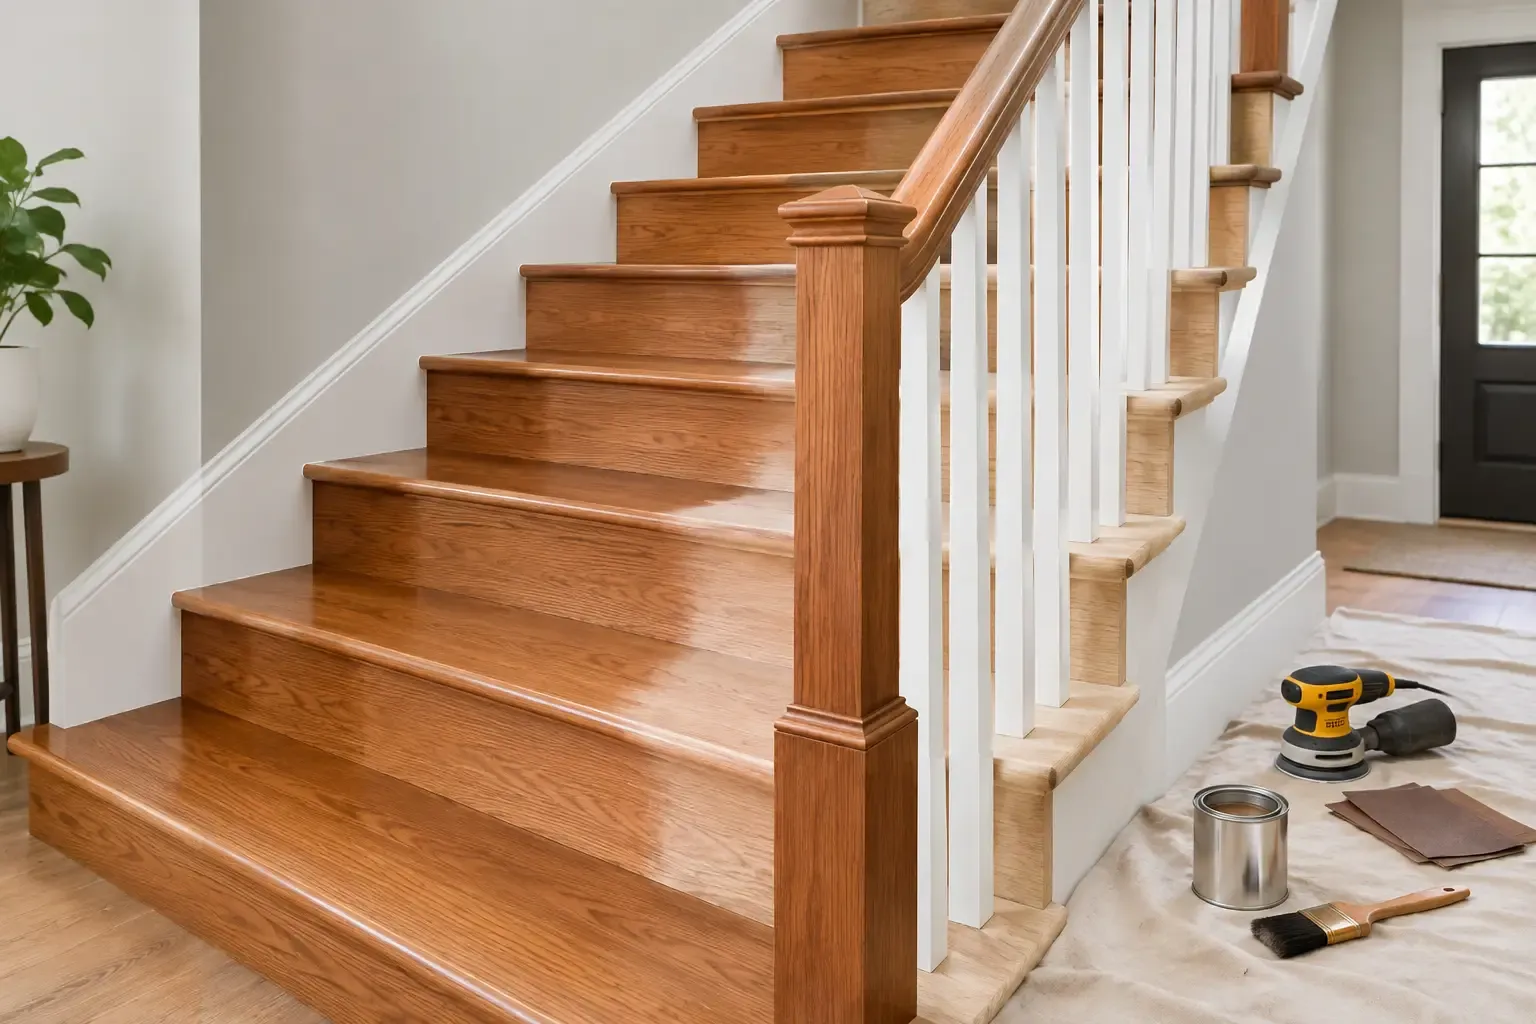
A staircase can make an otherwise well-kept home look tired fast. Tread edges turn gray from foot traffic, finish wears through at the nosing, and railings collect hand oils that dull the wood. To refinish hardwood stairs and railings correctly, the work has to respect the details that make stairs safer, stronger, and more visually prominent than a typical floor.
For Maryland and Washington, DC-area homes, this is often a high-value restoration project. A professionally refinished staircase can bring an entryway back into balance with newly refinished floors, preserve original millwork in an older home, and eliminate the patchy, worn appearance that cleaning alone cannot fix.
Why stairs and railings need a different approach
Hardwood stairs are not simply floorboards installed at an angle. Each tread has a front nosing, exposed edges, corners, and sometimes repair areas from years of use. These areas receive concentrated wear, especially in homes with children, pets, or a busy main-level entry.
Railings present a different challenge. Their rounded profiles, balusters, newel posts, and handrails cannot be handled with the large sanding equipment used across an open floor. They require controlled handwork and detail sanding so the finish is removed evenly without flattening profiles, rounding crisp edges, or damaging adjacent painted trim.
The finish system matters, too. Treads need a durable coating that resists abrasion and cleans easily. Handrails need a finish that holds up to repeated contact without becoming sticky, cloudy, or prematurely worn. The best product choice depends on the wood species, desired sheen, existing stain color, household use, and whether the stairs connect to floors being refinished at the same time.
Start with an honest condition assessment
Before sanding begins, a professional should identify what is under the existing finish and what condition the wood is actually in. Surface scratches and dullness are one thing. Deep gouges, loose treads, water staining, pet damage, cracked nosings, and worn-through veneer are another.
Solid hardwood treads can often be sanded and refinished more than once, provided enough material remains above the tongue-and-groove joint or fasteners. Engineered treads require more caution because their hardwood wear layer may be too thin for a full sanding. In that case, a light recoat, selective repair, or tread replacement may be the smarter investment.
Older homes in Bethesda, Chevy Chase, Silver Spring, and surrounding communities may also have original red oak, white oak, maple, or heart pine stairs with repairs from several decades of ownership. Those stairs deserve an assessment that considers character as well as condition. A dark spot or old patch may be repairable, but it may not disappear completely without replacing wood. Clear expectations before work starts prevent surprises after stain is applied.
The preparation work that determines the result
A durable staircase finish begins long before the first coat goes on. The contractor should protect nearby flooring, walls, trim, and furnishings, then address mechanical issues such as squeaks, loose balusters, protruding fasteners, and damaged trim. Refinishing over a loose tread or unstable railing only hides a problem temporarily.
Stair sanding is a sequence of careful steps, not one aggressive pass. The existing finish is removed, the wood is leveled as needed, and progressively finer abrasives prepare the surface for stain or clear finish. The goal is a clean, consistent surface without sanding swirls, burn marks, or cross-grain scratches that become obvious once color is added.
Dust containment is especially valuable on stair projects because the work is often near bedrooms, hallways, and living spaces. Dustless sanding equipment significantly reduces airborne dust when used with proper containment and cleanup practices, though no sanding project is completely dust-free. Sensitive areas and ventilation paths still need protection.
On staircases, corners and profiles call for hand tools and trained judgment. This is where rushed work often shows up: uneven color at the tread edge, gouged risers, cloudy finish around balusters, or rails that feel rough in the hand.
Choosing color without creating a mismatch
Many homeowners want their stairs to match a newly refinished floor. That is a reasonable goal, but exact uniformity is not always possible. Wood species, board age, grain pattern, prior sun exposure, and the original millwork can all accept stain differently.
Red oak, for example, has a more open grain than maple and usually takes stain more predictably. Maple can blotch without the right preparation. White oak can produce a beautiful contemporary neutral or custom gray-brown tone, but existing amber finishes may need to be fully removed before the new color reads accurately.
A sample area or custom stain board is the practical way to make decisions. It allows the homeowner to see the color under the home’s actual lighting and compare it to adjacent floors, doors, and trim. A stain that looks perfect under showroom lighting can look unexpectedly orange, cool, or dark in a north-facing foyer.
For a staircase with painted risers and stained treads, the order of work also matters. Refinishing the wood first and completing paint touch-ups afterward often produces cleaner lines. If the risers are wood and will receive clear finish, consistent sanding becomes even more important because every variation remains visible.
How to refinish hardwood stairs and railings for daily use
The most attractive finish is not automatically the right finish for a busy household. High-gloss coatings reflect light dramatically, but they also show scratches, dust, and small imperfections more readily. Satin remains a popular choice because it offers a softer appearance while still providing a finished, refined look. Matte can work well in contemporary homes, though product quality and maintenance habits matter.
For treads, multiple compatible coats are typically used to build protection. Between coats, the surface may be lightly abraded to promote adhesion and a smooth final feel. Dry time and cure time are not the same. A staircase may be safe for careful, limited use before the finish reaches full hardness, but heavy traffic, rugs, and furniture should wait until the coating has cured according to the product specifications.
Handrails require the same patience. Oils from hands can quickly compromise adhesion if the surface is not cleaned and prepared correctly. Once refinished, a rail should feel smooth but not overly slick. On a safety-critical feature, the aim is a durable, comfortable surface rather than an overly polished one.
If stairs must remain usable during the project, the schedule should be planned around that reality. Some homes can use an alternate staircase or arrange temporary access. In other cases, the work may be phased so sections can be completed safely. The right approach depends on the layout, the finish selected, and the household’s needs.
Repairs that should happen before finishing
Refinishing improves wood, but it cannot fix every structural or cosmetic issue by itself. Addressing repairs before final sanding protects the appearance of the finished staircase and avoids reopening completed work later.
Common repair needs include:
- Loose or squeaking treads, especially at the front nosing
- Split or cracked tread edges
- Missing plugs or exposed nail holes
- Loose balusters, newel posts, or handrail brackets
- Water-damaged or deeply blackened wood
- Treads that are too thin or damaged to refinish safely
Not every repair should be made invisible at any cost. On historic staircases, a carefully matched patch can be more appropriate than replacing an entire original component. On heavily worn builder-grade stairs, replacement treads may offer a cleaner and more economical long-term result. A qualified contractor should explain both options before the finish decision locks in the final appearance.
What homeowners can do after the work is complete
A refinished staircase stays attractive longer with simple habits. Use felt protection on furniture near the stair landing, avoid wet shoes on wood treads, and clean with a manufacturer-approved wood-floor cleaner rather than oil soaps, waxes, or steam. Those products can leave residue, affect sheen, or interfere with future recoating.
Small scratches are normal in an active home, particularly on tread nosings. The better strategy is to watch for finish wear before bare wood becomes exposed. A maintenance coat at the right time can extend the life of the staircase and reduce the need for another full sanding.
Refinish My Floors evaluates stairs, railings, and adjoining hardwood as a complete visual system, from repair needs and custom color samples to finish selection and final coats. For a staircase that has become the most worn part of the home, a detailed on-site assessment is the clearest first step toward a finish that looks right and lasts.