
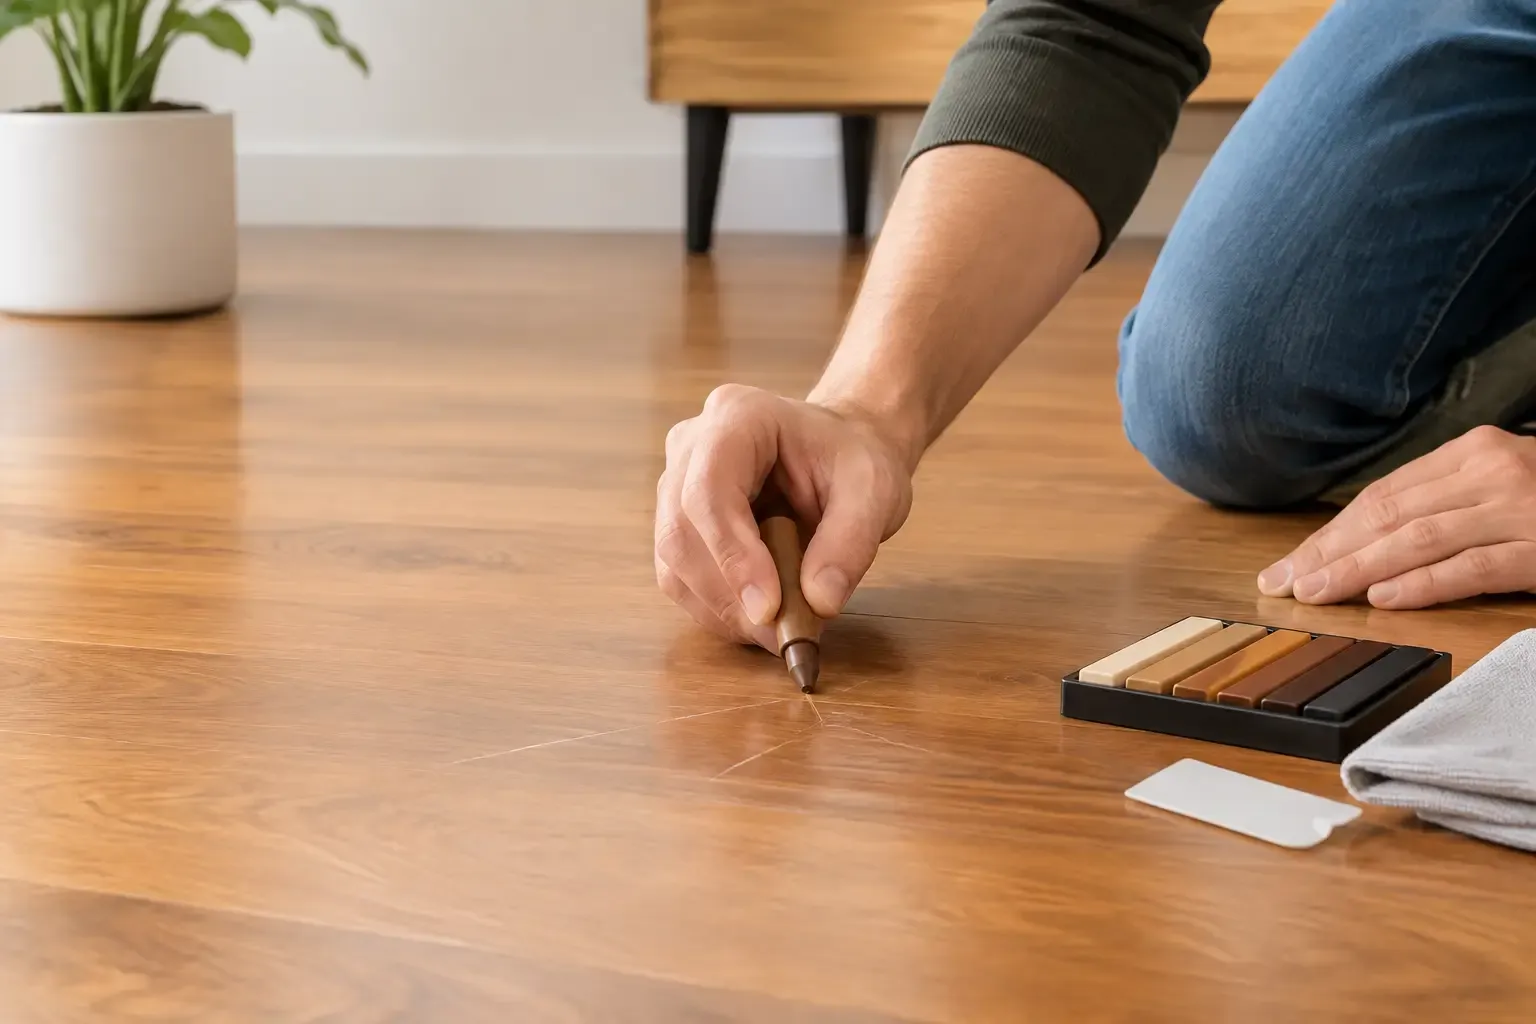
A scratch near the dining table may be a small cosmetic issue. A network of pale lines across a hallway, however, can signal that the protective finish is wearing away. Knowing how to repair scratched wood floors starts with one practical question: is the damage in the finish, in the stain, or in the wood itself? The right answer protects both the appearance and the long-term life of your floor.
Hardwood is repairable, which is one reason it remains such a valuable flooring choice. But not every scratch should be treated with the same product or technique. A quick fix that looks acceptable on an oak floor can leave a cloudy spot on maple, a dark halo on a custom stain, or an uneven sheen on a historic floor.
Identify What Kind of Scratch You Have
Before reaching for a repair marker or stain, clean the affected area with a manufacturer-approved hardwood floor cleaner and a soft microfiber cloth. Dirt trapped in a scratch can make it appear deeper than it is. Let the area dry fully, then inspect it in daylight and from a low angle.
A surface scratch usually affects only the top coat. It may look white, gray, or dull, especially when light catches it, but the color of the wood remains intact. These marks are common around chair legs, pet traffic, and entryways. They are often the most straightforward to improve.
A finish-and-color scratch has gone through the protective coating and disturbed the stain beneath it. You may see a lighter line on a dark-stained floor or a darker mark where moisture and dirt have reached exposed wood. This type needs careful color matching before the finish is restored.
A deep scratch or gouge cuts into the wood fibers. You can usually feel it with a fingernail, and it may have rough or lifted edges. Deep damage can sometimes be filled locally, but broad sanding and refinishing may be the better result if there are several gouges, black stains, cupping, or worn areas nearby.
Repair Scratched Wood Floors With Light Finish Damage
For isolated surface scratches, begin conservatively. A compatible touch-up product can reduce their visibility, but it should not be used as a substitute for a failing finish across an entire room.
A clear hardwood floor touch-up solution or finish restorer may help if the original coating is still sound and the scratch is limited to the clear coat. Apply it sparingly to a hidden test area first. Flooring finishes vary widely, including waterborne polyurethane, oil-based polyurethane, conversion varnish, aluminum oxide factory finishes, wax, and hardwax oil. Products that work with one finish may not bond correctly with another.
For a narrow scratch that has not removed color, a wax repair stick matched closely to the floor can be useful. Rub it lightly into the mark, remove excess material with a clean cloth, and buff gently. Avoid aggressively polishing the area. Excess wax can attract dirt and may complicate a future maintenance coat or refinishing project.
Furniture-related scratches should also prompt a prevention check. Felt pads under chairs and tables, clean wheels on rolling furniture, and entry mats that capture grit will do more for your finish than repeated touch-ups. Sand carried in on shoes acts like fine sandpaper under foot traffic.
Be Careful With Common DIY Shortcuts
Many online remedies are more likely to disguise a scratch temporarily than repair it. Oils can darken exposed wood, but they can also interfere with adhesion if the floor later needs a professional maintenance coat. Permanent markers often create an overly dark line, especially on natural or lighter stains. Household waxes, silicone-based sprays, and steam cleaners can leave residues or damage the finish.
A walnut rubbed over a scratch is another common suggestion. It may briefly mask a light mark because of its natural oils, but it does not rebuild the protective coating. On a floor with a worn finish, adding oil to the surface can make later repair work less predictable.
Matching Color When the Stain Is Damaged
When a scratch has removed stain, color matching is the most visible part of the repair. Wood is not one uniform color. Even boards from the same species can vary in grain, density, and how they absorb stain. Red oak, white oak, maple, hickory, and pine each respond differently.
Start with a touch-up marker, crayon, or stain pen in a shade slightly lighter than the floor. Build color gradually rather than applying a dark product all at once. Work only inside the scratch, wipe away any excess immediately, and let it dry before judging the result. Daylight is best for checking the match. A color that looks right under warm interior lighting can appear noticeably orange, gray, or red the next morning.
If your floor has a custom blend, multiple stain colors, or a hand-rubbed appearance, a store-bought marker may not blend convincingly. The same applies to older homes where the wood has developed decades of natural ambering. In these cases, a flooring professional can create a test sample and blend repair color with greater control.
Once color is repaired, the area still needs a compatible protective topcoat. Applying a random clear finish over a spot repair can create a glossy square, a dull patch, or an adhesion issue. Sheen matters as much as color. A satin floor repaired with gloss polyurethane may be visible from across the room.
When a Local Repair Is Not Enough
Spot repairs work best on a few isolated marks. They become less effective when the floor has widespread scratching, traffic lanes, cloudy finish, fading near windows, or bare wood around doorways and furniture. At that point, the visible problem is not just a scratch. It is a worn protective system.
A professional screen and recoat may be appropriate when the finish is scratched but still intact. This process lightly abrades the existing finish, removes surface wear, and applies fresh finish coats across the floor. It refreshes sheen and protection without sanding deeply into bare wood. It is generally less invasive than a full refinish, but it cannot correct deep gouges, major color changes, uneven boards, or finish contamination.
Full sanding and refinishing is the more complete option when scratches cut through to raw wood, stains are embedded, boards are uneven, or the homeowner wants a different color. The floor is sanded to a clean, even surface, repaired where necessary, stained if desired, and sealed with new finish coats. It is a larger project, but it offers the most consistent result across a heavily worn floor.
Engineered hardwood requires an additional check. Some engineered floors have a substantial wear layer and can be refinished, while others cannot tolerate much sanding. A professional evaluation prevents sanding through the veneer. Solid hardwood typically offers more refinishing flexibility, although its condition, past refinishing history, and board thickness still matter.
Protecting Floors After the Repair
A repair lasts longer when the source of the damage is addressed. Keep mats at exterior doors, but choose breathable mats without rubber or vinyl backings that can trap moisture or discolor some finishes. Use protective pads beneath furniture and replace them when they collect grit or flatten.
Clean spills promptly and use only a lightly damp microfiber mop for routine care. Excess water can work between boards, leading to swelling, cupping, and dark staining. In Maryland and Washington, DC homes, seasonal humidity changes can also affect wood movement. Maintaining stable indoor humidity helps reduce gaps, expansion, and stress on finish edges.
For commercial spaces, protection plans need to account for heavier foot traffic, rolling loads, and more frequent cleaning. Entry systems, scheduled maintenance, and durable finish selection are often more cost-effective than waiting for visible wear to spread through a lobby, corridor, or office.
Get a Clear Assessment Before You Commit
The best repair is the least invasive method that delivers a durable, even-looking result. That may be a careful touch-up on one board, a recoat that renews an entire room, or a full refinishing project that restores worn hardwood for years of use.
For homeowners in Rockville, Bethesda, Silver Spring, Potomac, and surrounding Maryland communities, an on-site evaluation can identify the existing wood species, finish type, and depth of damage before work begins. Refinish My Floors, LLC combines detailed floor assessment with sanding, custom stain matching, and finish work designed to preserve the character of the wood. A clear diagnosis now can keep a small scratch from becoming a larger restoration project later.